Email Setup Guide for iPad
This page explains how to set up your email client for an iPad, and connect to the AWS Tribal mail server. The same principles will apply for other tablets.
Just start up the Mail program on your iPad. If this is the first mail account you're adding on your iPad, you will be taken immediately into the account creation process.
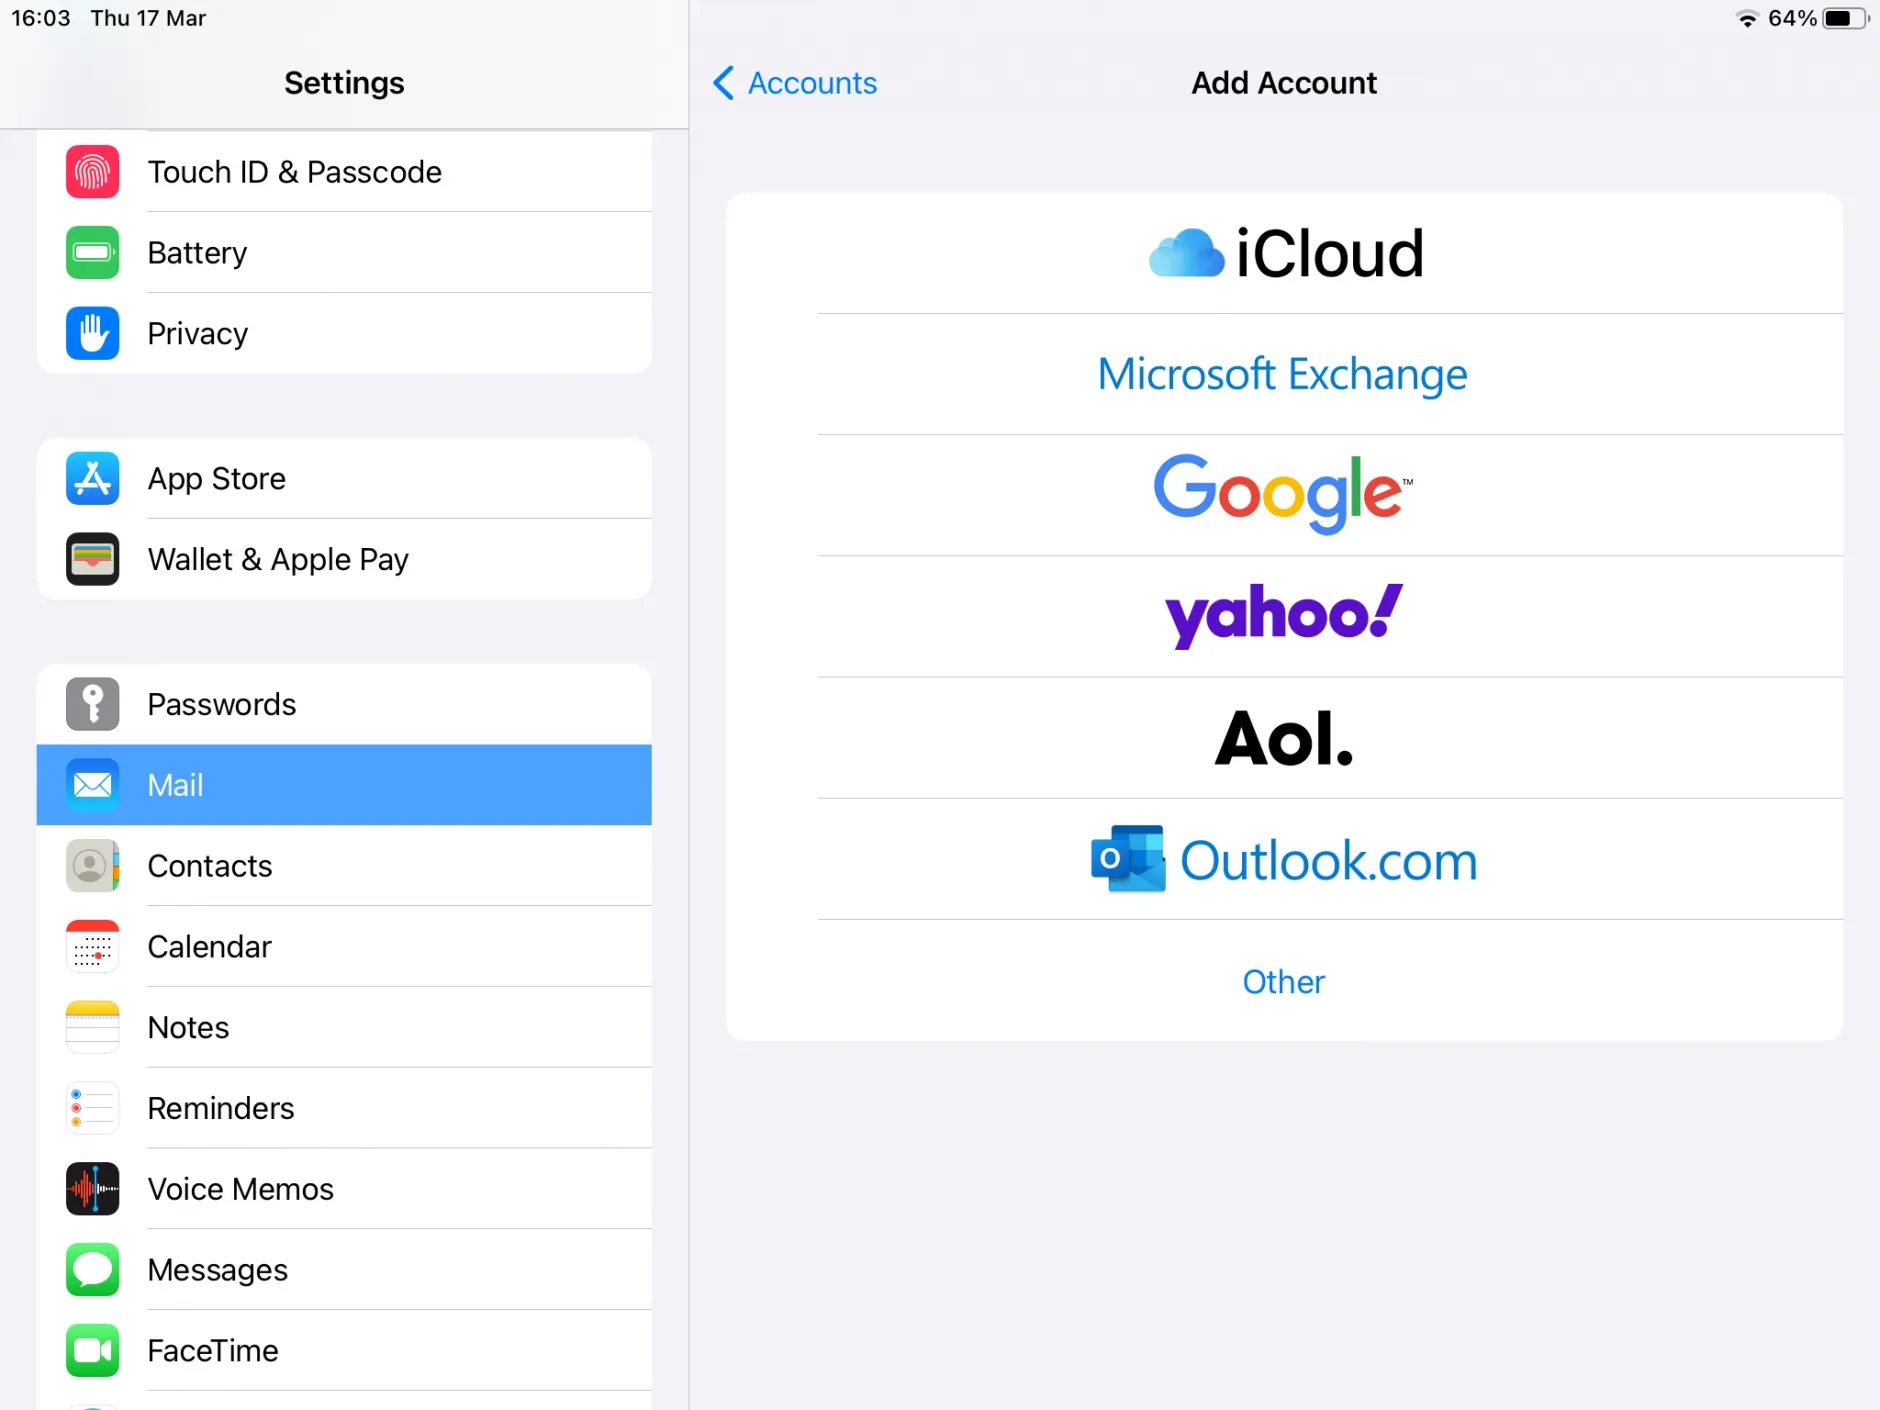
If you already have some mail accounts on the iPad, go to Settings, Mail, then click "Add Account".
You will see a list of mail systems, but click "Other":
You will be asked to enter details of your account, in a screen like this:
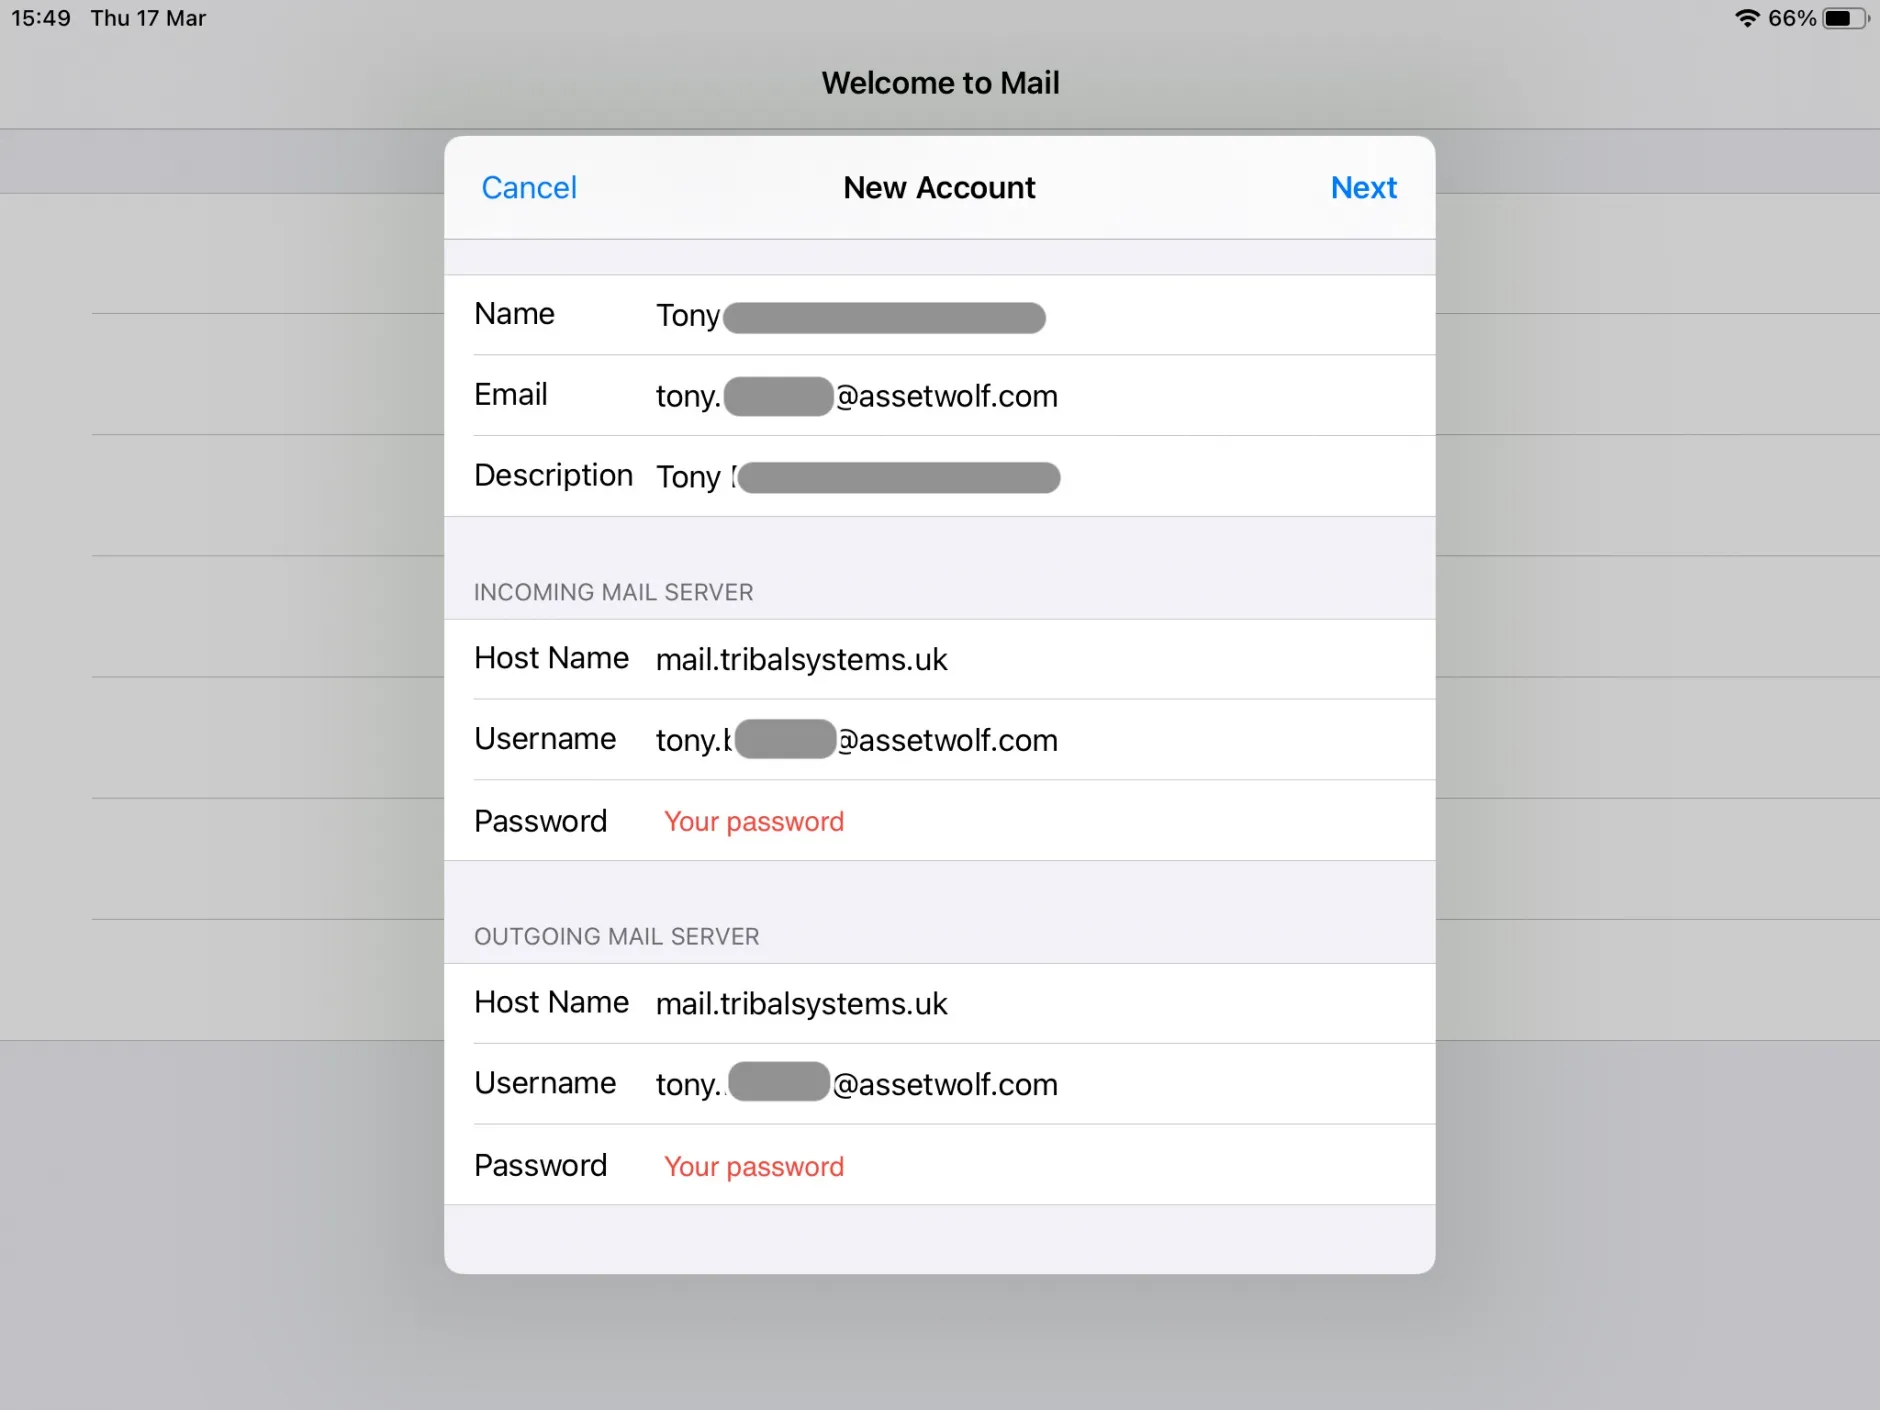
Be sure to enter:
- in the first section, your name, email address, password, and a name/description for the account
- in the "incoming mail server" section, the host name mail.tribalsystems.uk, and your email and password (again)
- in the "outgoing mail server" section, the host name mail.tribalsystems.uk, and your email and password (again).
Press Next to save the settings. The iPad will take a few seconds to check the connections, and if all is well then you will immediately see your mailbox contents, and you should be able to send straightaway.
Advanced settings
You should not need these. But if things are not working, go to iPad Settings, Mail, select your email account from the list, then scroll down to Advanced.
It should look like this:
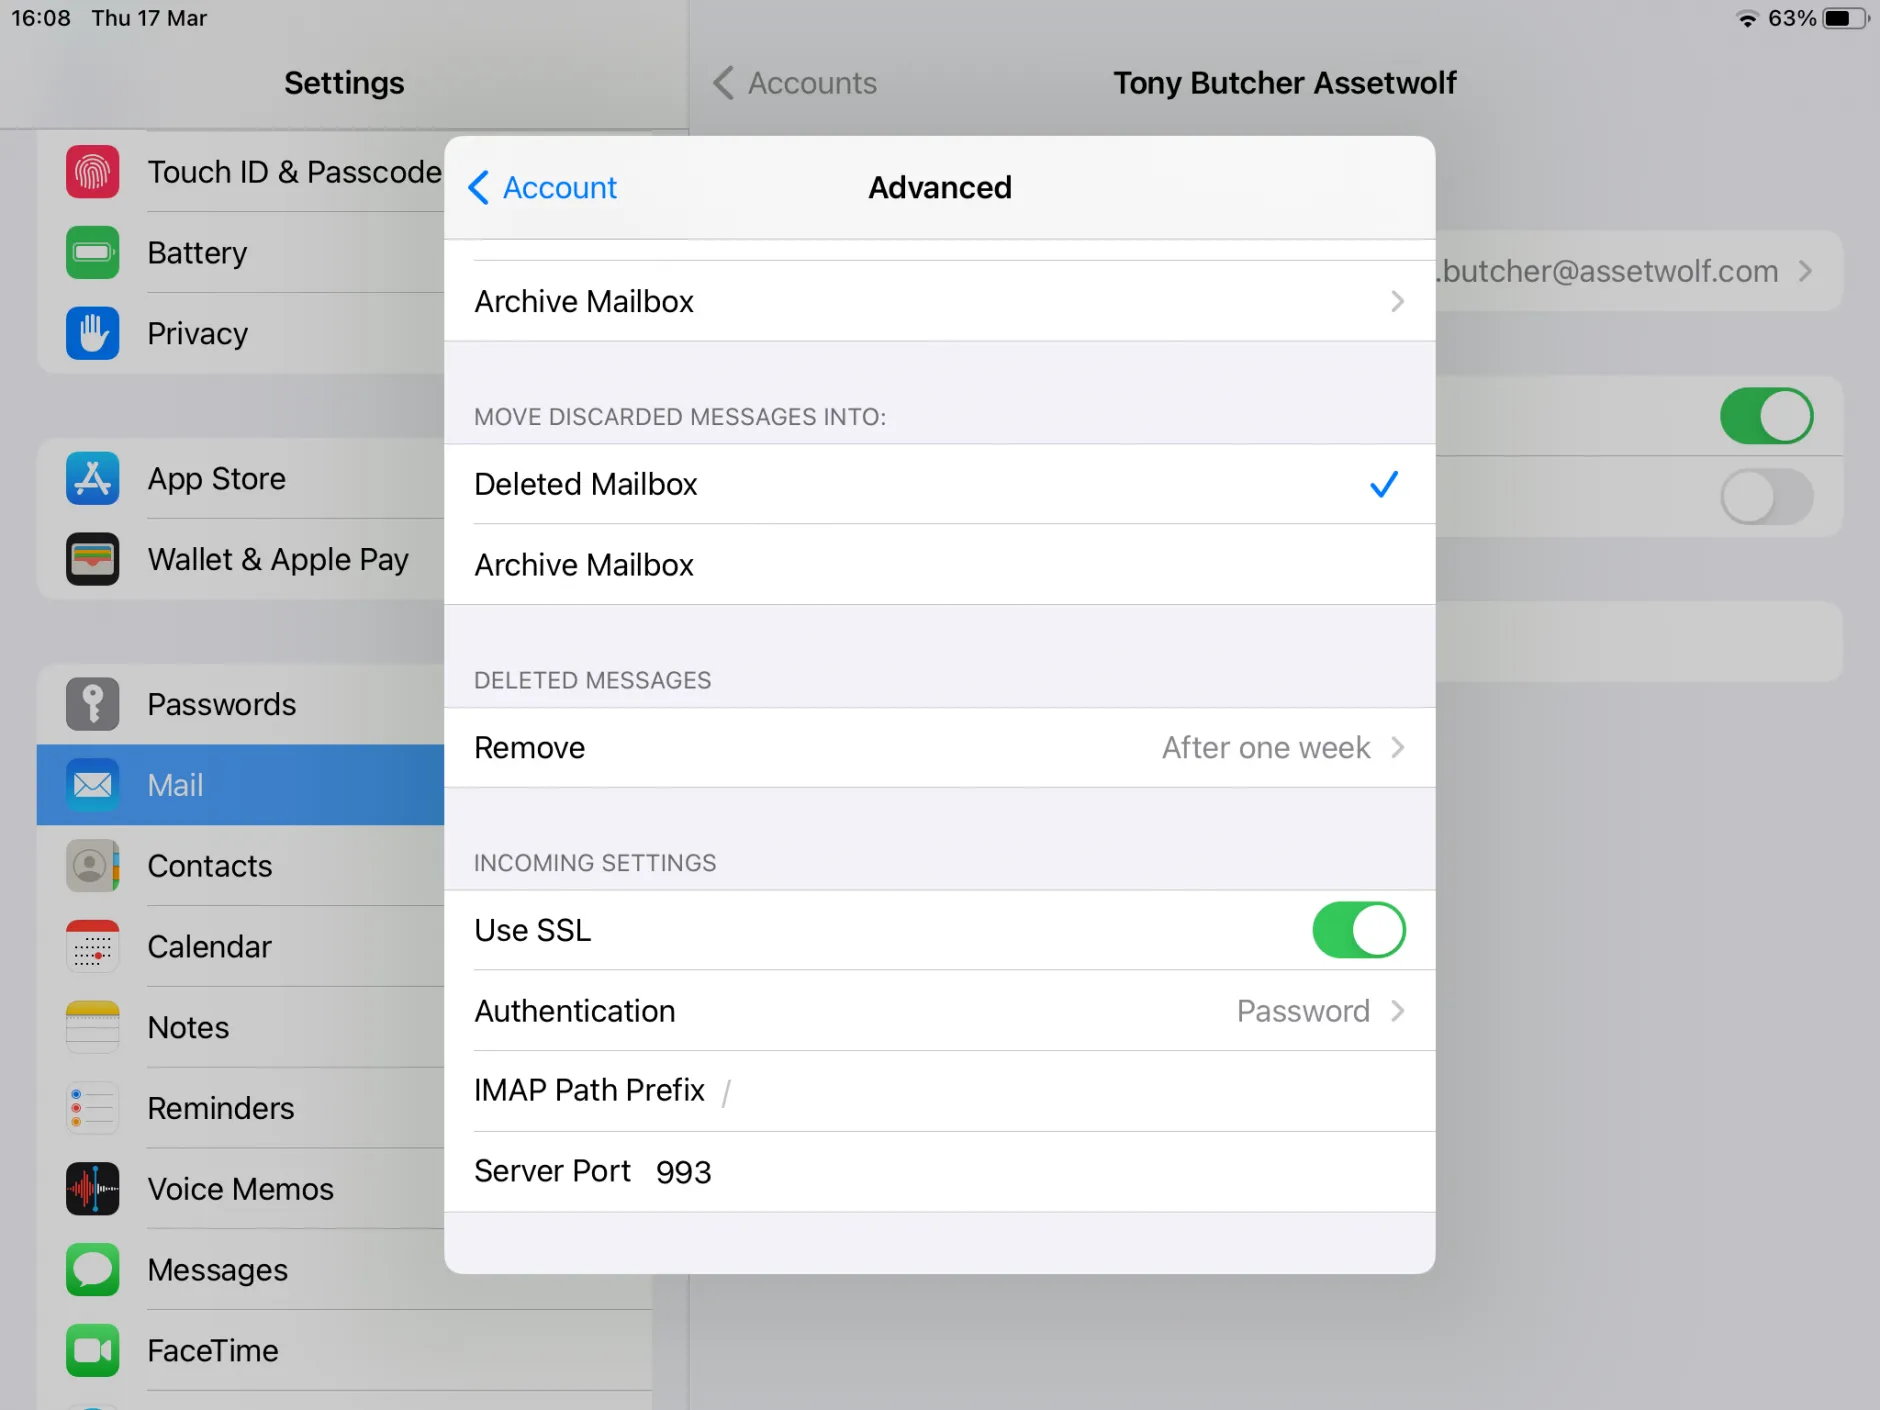
Check that in Incoming Settings Use SSL is on, and Server Port is set to 993.
If you have problems sending, in the same screen find the SMTP settings, select mail.tribalsystems.uk. Check the username and password are present, and that it is using Server Port 25.